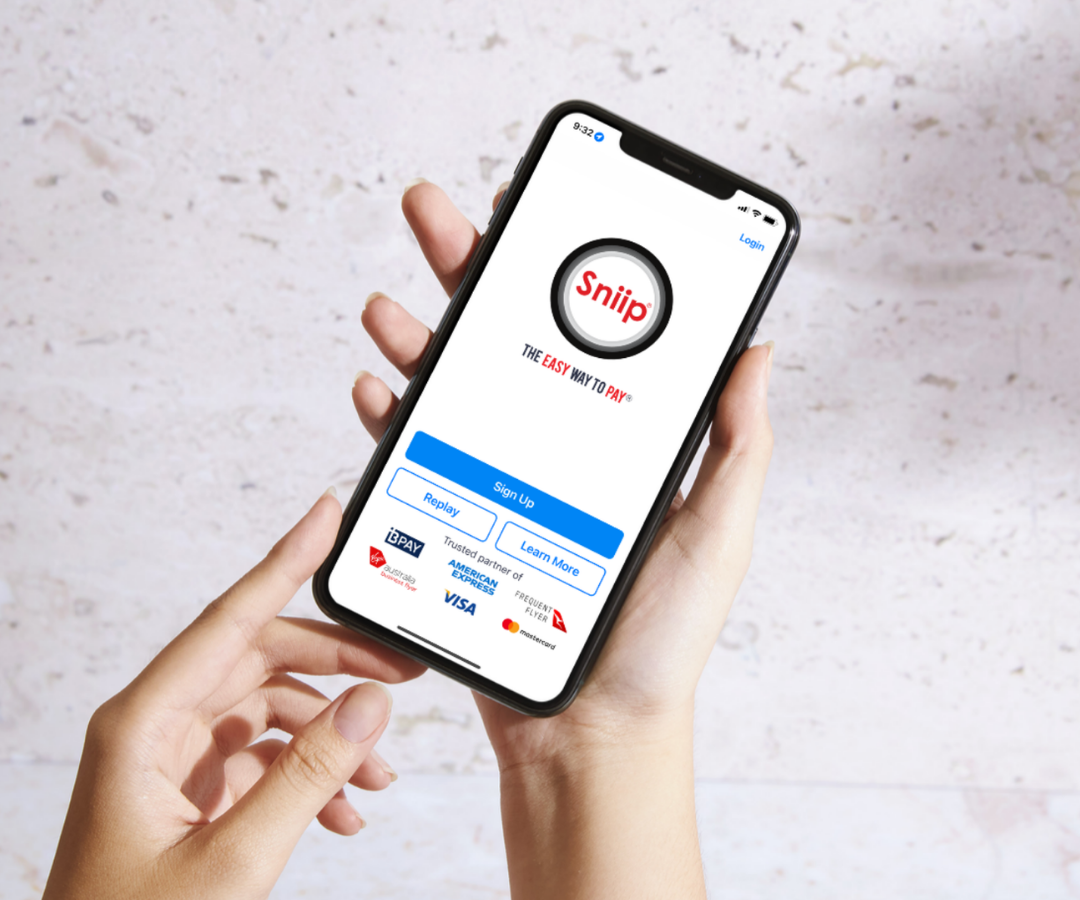
Set up Sniip and pay your first bill in about 20 seconds.
Snap or scan your bills, pick the card you want to earn points on, and Sniip pays the biller. A few quick steps to get going, no paperwork, all from your phone.
Free on iOS and Android. Bank-level security, every payment.
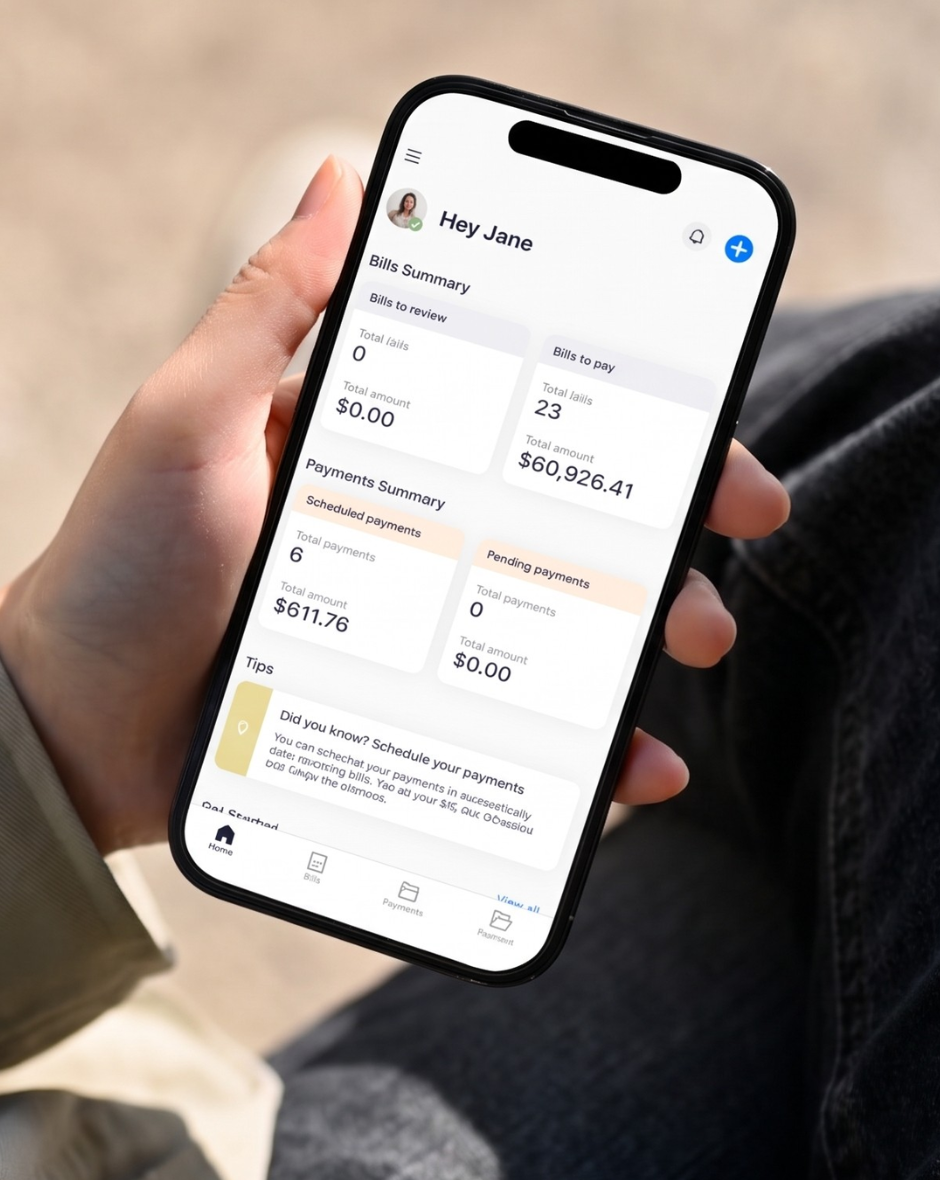
Everything lives in four simple tabs.
The bottom bar is your whole map. Tap between them any time, nothing is more than a step away.
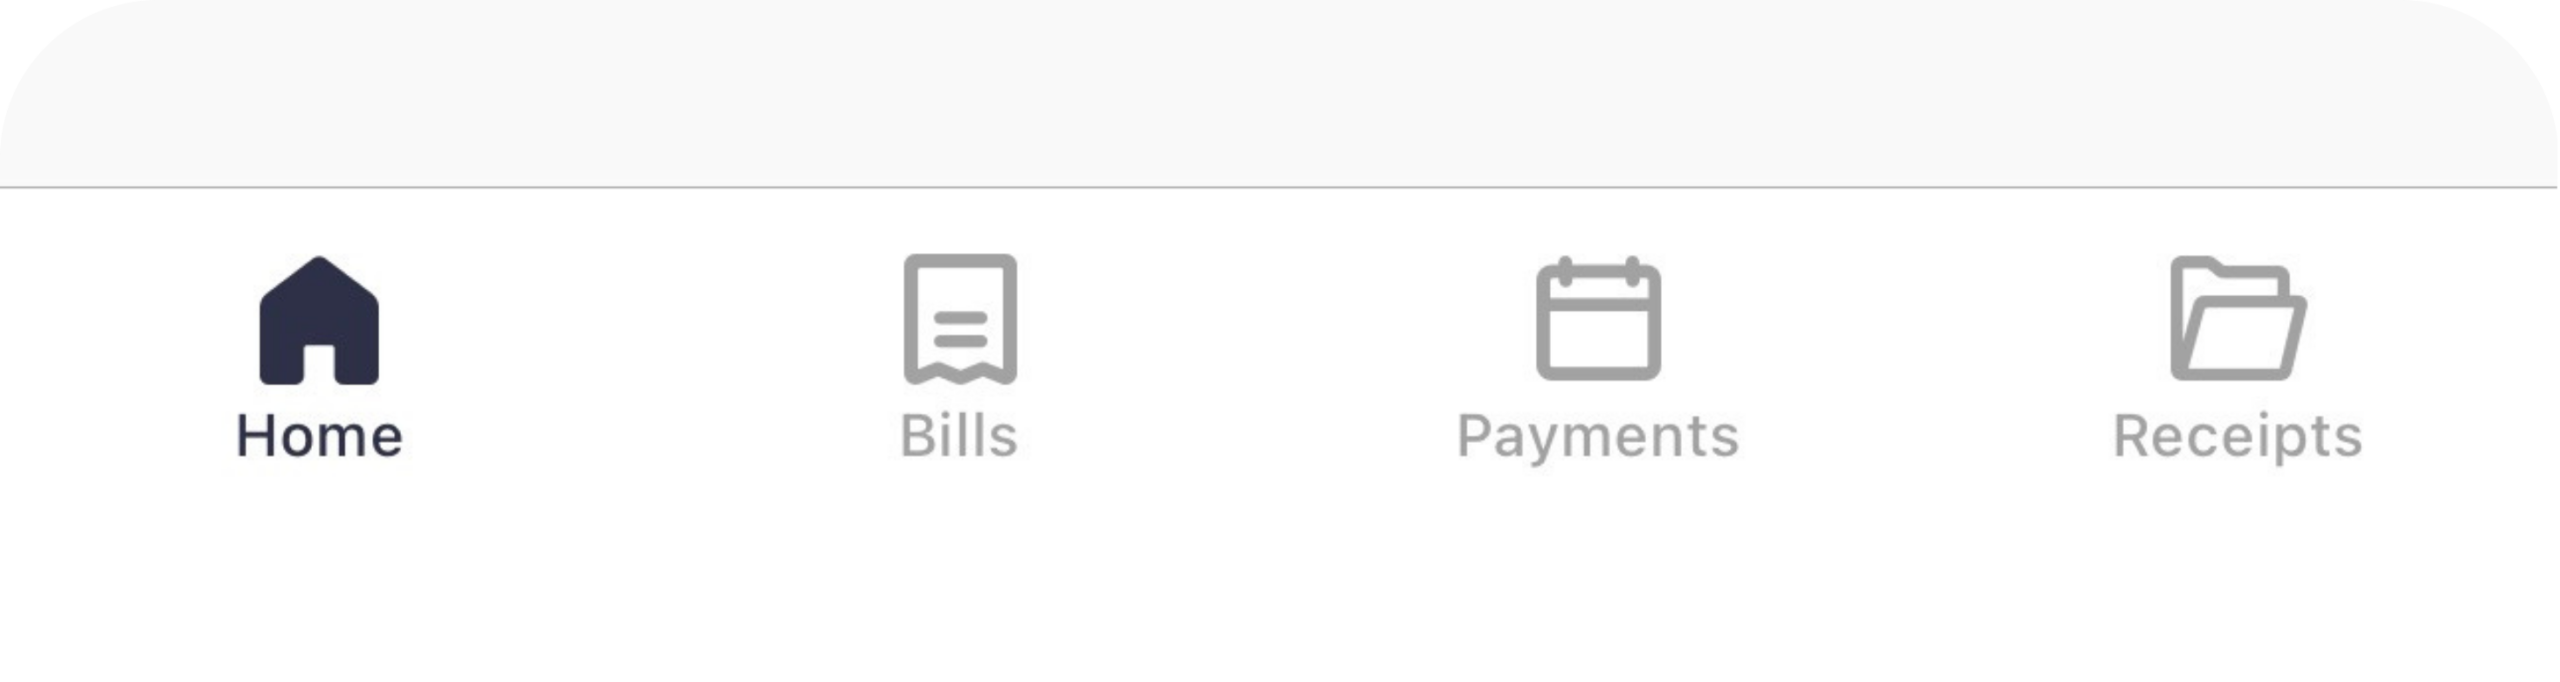
Home
Every upcoming bill you’ve imported or scanned, ready to review and pay.
Bills
Imported, scheduled and paid bills- sorted so you always know what’s next.
Payments
Scheduled and pending payments, including bank transfers being processed.
Receipts
Every past payment with its transaction ID, export a copy in a tap.
From download to first payment.
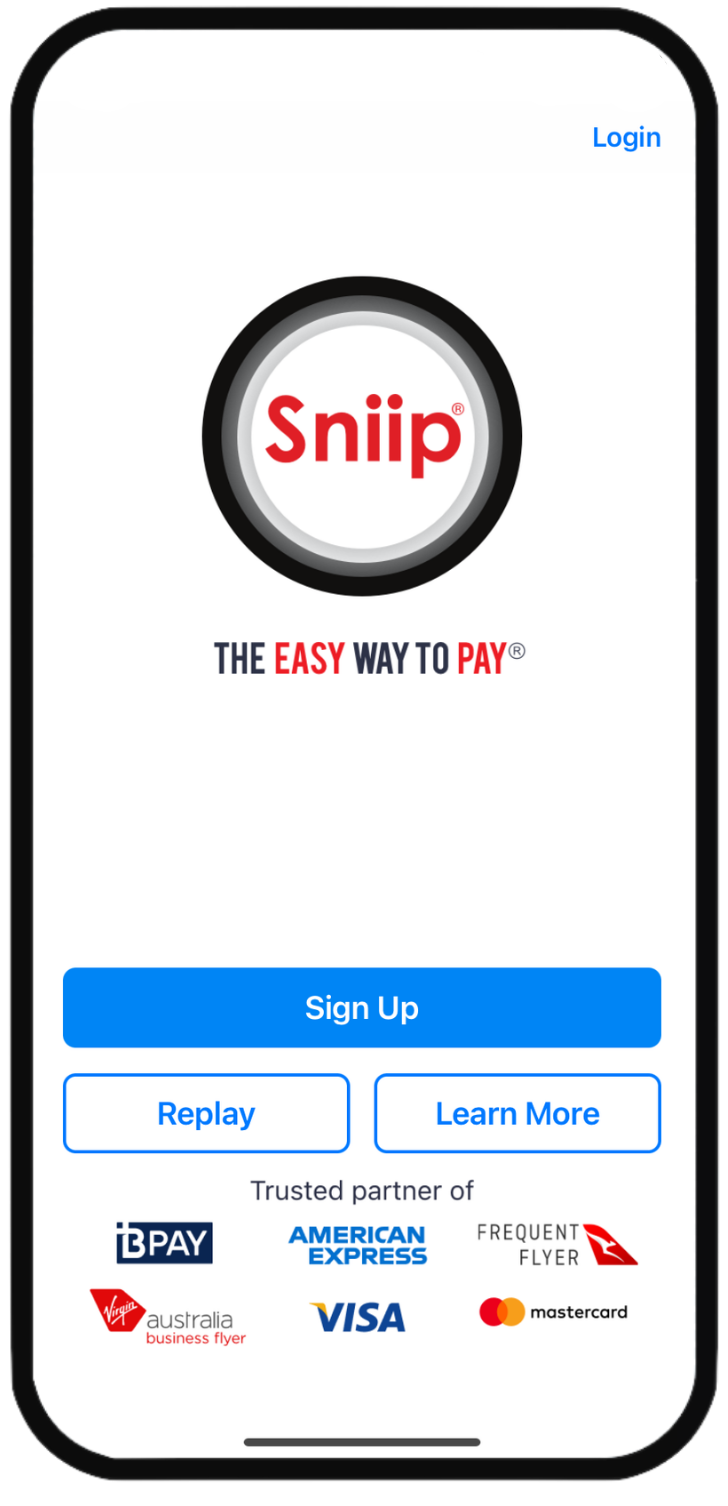
Get Sniip on your phone.
- Download Sniip free from the App Store or Google Play, then open it and tap Sign up.
- Register with your legal name so your payments clear smoothly.
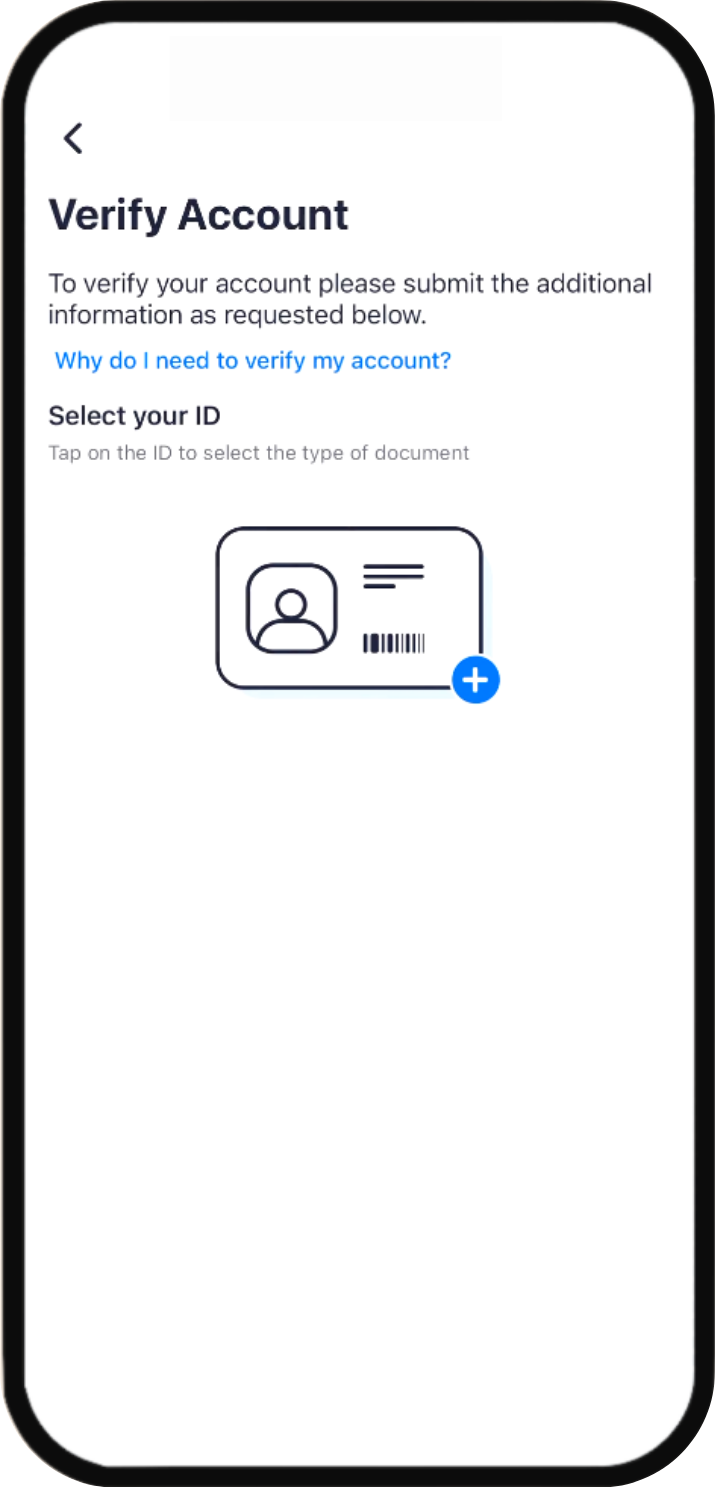
A quick check so you can pay.
Verifying your identity is required before you can make payments. It is easy and fast, and only takes a couple of minutes. Just follow the prompts to confirm who you are.
Bank-level security
Your ID and details are encrypted end to end and never shared with billers.
A quick check that keeps you safe
Sniip is a regulated bill payment provider, so we need to confirm who our customers are. It is the same kind of check a bank runs when you open an account. It keeps your account protected and your payments secure.
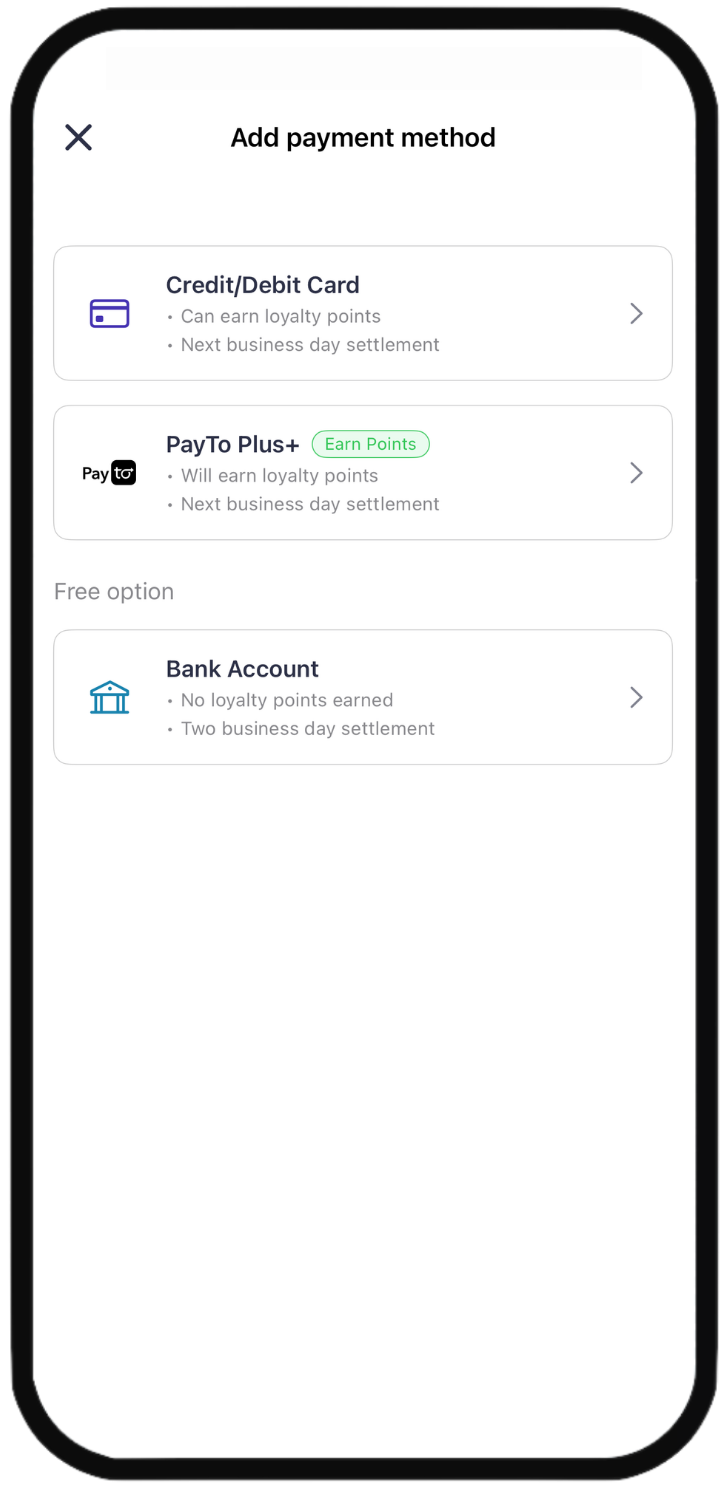
Load the card you want to earn points on.
- Open the top-left menu, tap Payment methods, then the + to add a card to your Sniip Wallet. Add up to 10 a day.
- Processing fees depend on your card type and whether the payment is personal or business.
- Apple Pay and Google Pay are supported too, and they appear first on the pay screen whenever your biller supports BPAY.
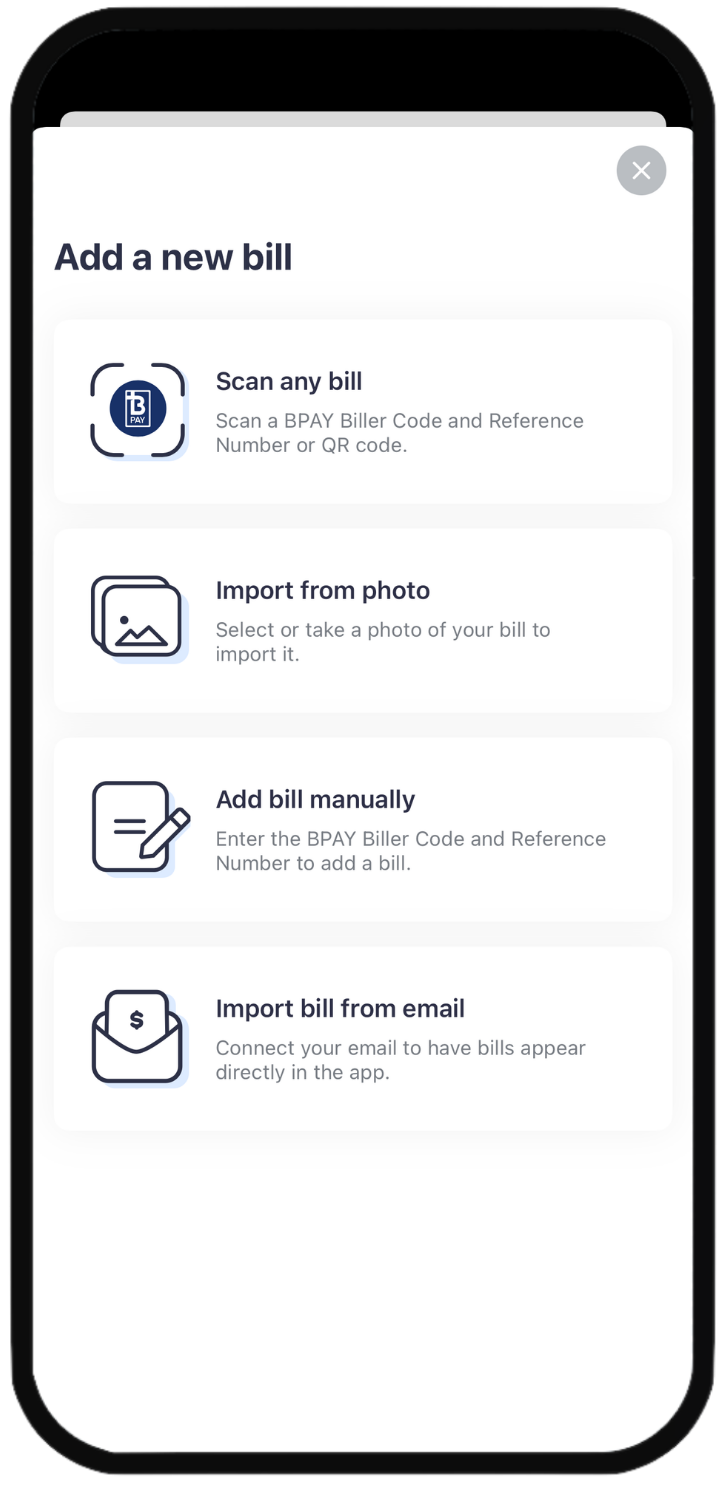
Bring in a bill, then pay in seconds.
Scan a BPAY bill
Point the Sniip scanner at the BPAY biller code, and it reads the code and reference number for you. The fastest way in.
Non-BPAY? Pay to a BSB & account
If a biller will not take your card directly, import from photo or email and Sniip pays their BSB & account number on your card.
Grab your receipt
Open Receipts, pick a payment, tap the email icon, and it lands in your inbox.
The side menu holds the extras.
Tap the icon in the top-left corner to reach account & security, payment methods and more.
Import from email
Bills flow straight in from your inbox, and we’ll nudge you when a new one lands.
Loyalty
Add, manage and set a default rewards program so every eligible payment earns.
Help
FAQs plus a direct line to the Sniip team whenever you’ve got a question.
Rather have someone show you?
Book a complimentary demo with our Sniip Support Squad. We’ll walk you through setup, importing bills and picking the right card, and answer anything you’re unsure about.